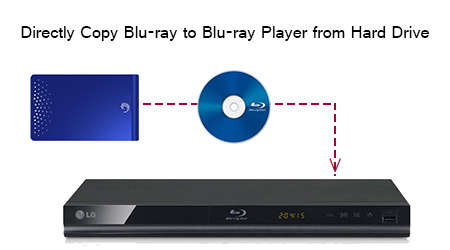
Chances are you have stored a bunch of .ISO image of DVD/Blu-ray in your computer or server, ever thought of streaming those Oscars ISO image files via DLNA to PS3, PS4, Xbox One, Xbox 360, PS Vita, Wii, Wii U and all Game Consoles. But you will find it is a painful try for just copying DVD/Blu-ray ISO files to QNAP TS-469-Pro directly for playing on most media streamers. Don’t worry, this below guide will teach you how to copy DVD/Blu-ray ISO videos to QNAP TS-469-Pro for streaming without any troubles.
Many people love to save their favorite 2016 Oscars Blu-ray/DVD as ISO files for backup on computer. However, ISO is not supported by QNAP TS-469-PRO device, and as far as we know, MP4, MKV are commonly supported formats for computer, Game Consoles, Apple TV, iOS devices, Roku player, etc via streaming videos from QNAP TS-469-Pro. Thus , what you need is a professional ISO to QNAP NAS converter tool that supports converting ISO to MP4/MKV for QNAP TS-469-Pro streaming with the best quality.

Hot search: ISO to WDTV | ISO to Roku | ISO to NAS
Get Backed up ISO files to QNAP TS-469-PRO compatible with Game Consoles
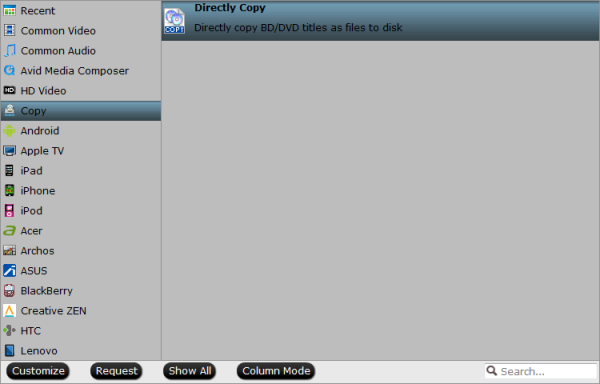
For viewing ISO files on Game Consoles, a dead easy way is to rip ISO into a format the Game Consoles can play. And after that, just connect it with USB or just transfer to Game Consoles from HDD.
To complete your task, you need the assistant of a ISO converting program called Pavtube BDMagic (Read review) which is capable of converting ISO files from Blu-ray/DVD to PS3, PS4, Xbox One, Xbox 360, PS Vita, Wii, Wii U supported video format with fast speed and excellent output quality so that you can play ISO videos on Game Consoles without any limitations. About 200+ preset profiles available for Apple, Android, and Microsoft devices make ISO playback pretty easier than ever. What’s more, this program comes with a built-in video editor that allows you to edit your movie files by trimming, cropping, adjusting video effects, etc. Now download this tool and follow the instructions below.


Other Download:
– Pavtube old official address: http://www.pavtube.cn/blu-ray-ripper/
– Cnet Download: http://download.cnet.com/Pavtube-BDMagic/3000-7970_4-75922877.html
Stream/Convert/Extract ISO files to QNAP TS-469-PRO for Game Consoles readable format
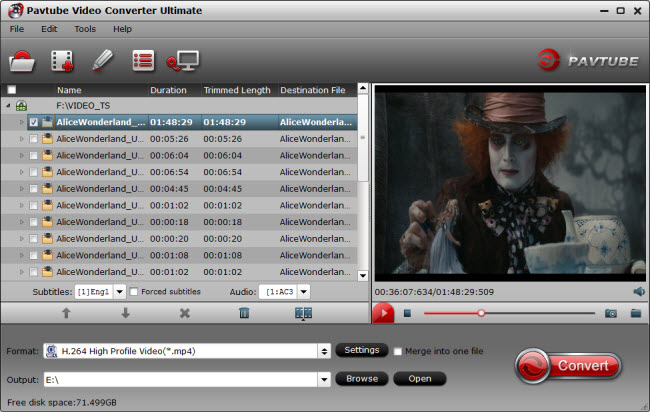
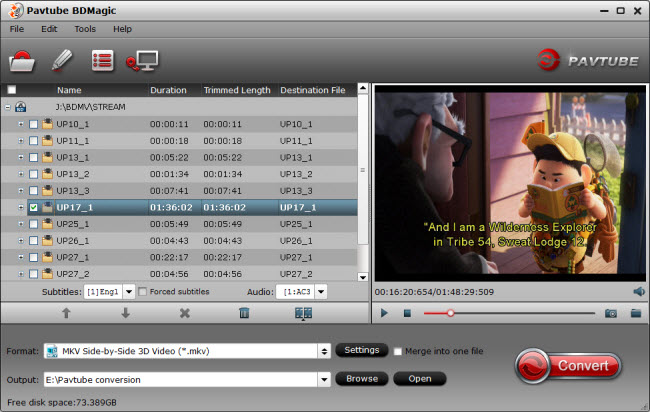
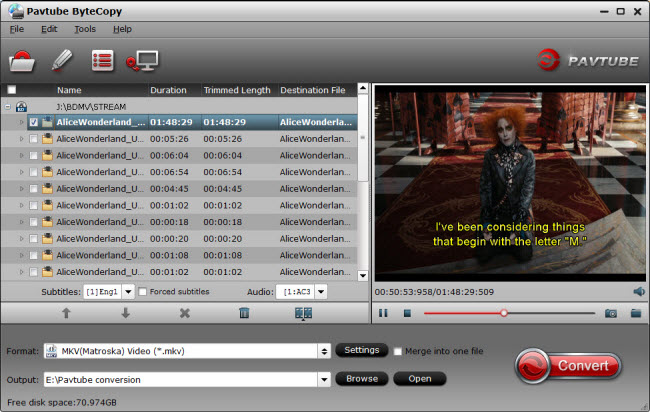
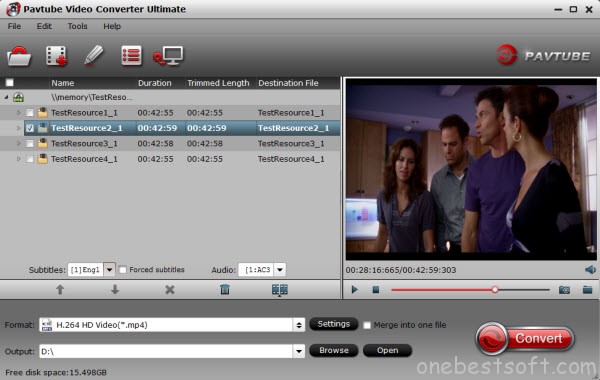
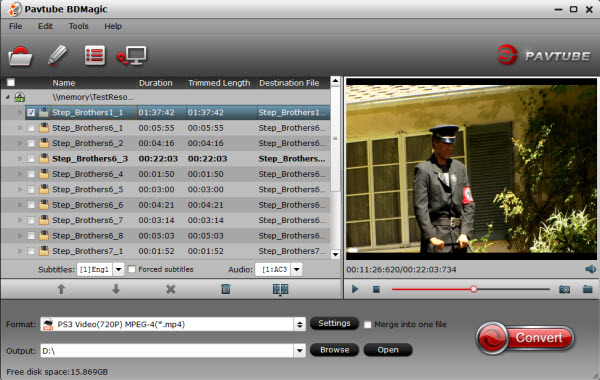
1. Add Oscars ISO image files
Run the ISO to Game Consoles Converter program and click disc button to add the ISO files. As you can see, you can also load DVD Folders and IFO files to rip.
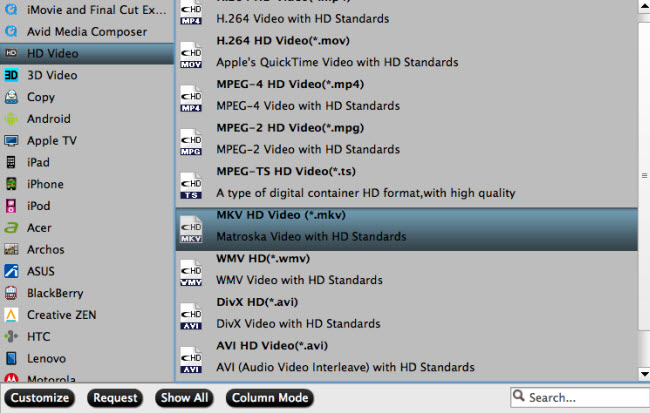
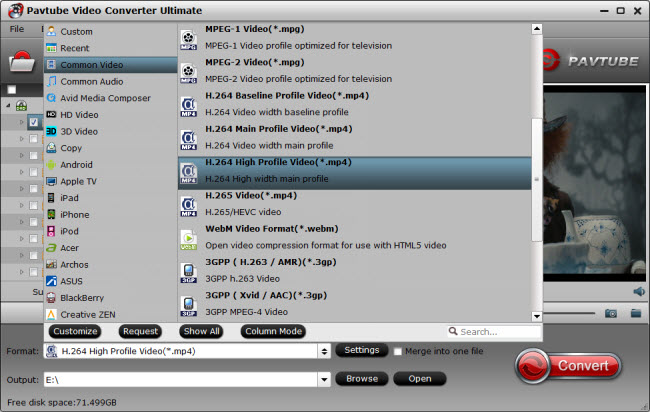
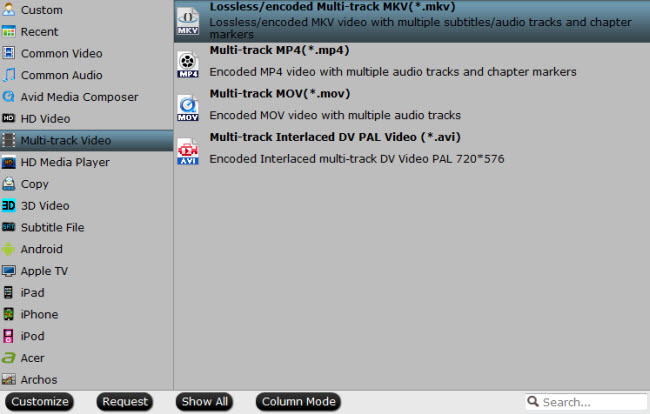
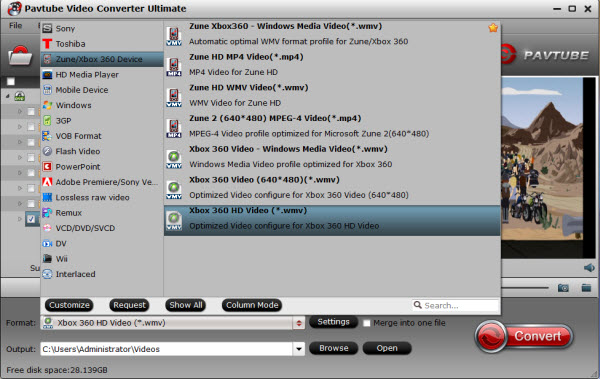
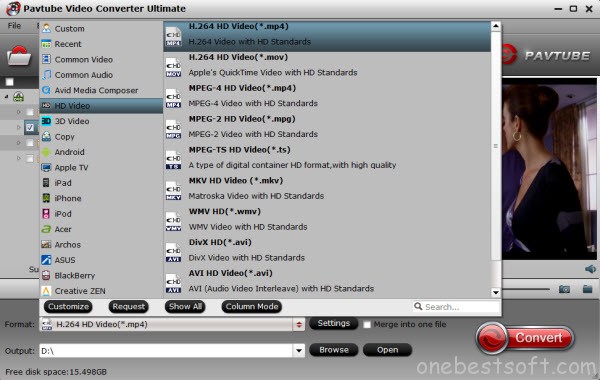
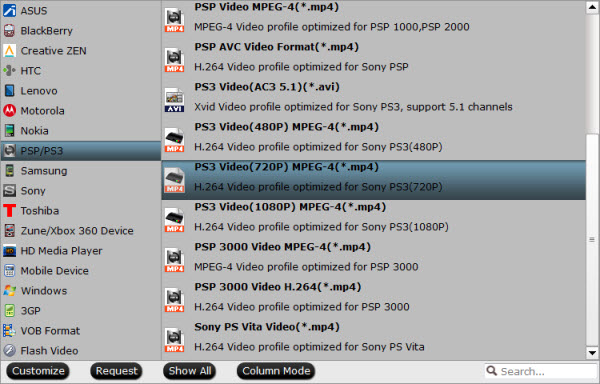
2. Choose output format
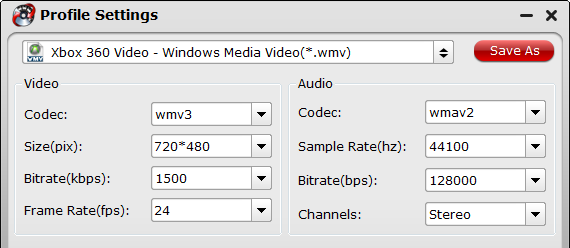
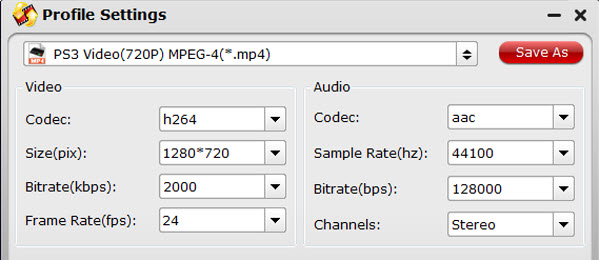
Click Format bar and choose “PS3 Video(AC3 5.1)(*.avi)”, “PS3 Video(480P) MPEG-4(*.mp4)”, “PS3 Video(720P) MPEG-4(*.mp4)”, “PS3 Video(1080P) MPEG-4(*.mp4)” from PSP/PS3, which can also be recognized by PlayStation 4 well.
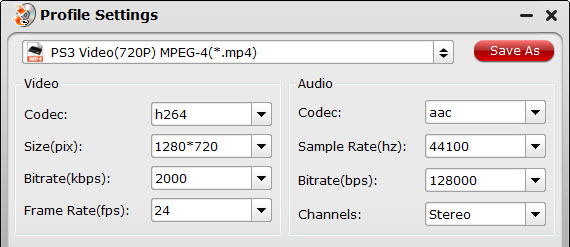
Tip– Advanced settings: With the right settings you can retain the quality of the original DVD while also saving space. This is particularly helpful when streaming over your network. Simply click Settings bar and you can tweak the settings to your satisfaction and even save it as preset.
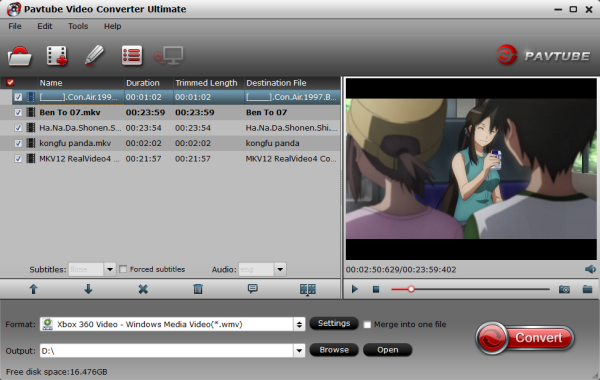
3. Start converting ISO files
Finally, hit the “Convert” button at the bottom of the main interface to start to rip ISO to Game Consoles recognized video. When everything is done, you can stream converted files to your PS3, PS4, Xbox One, Xbox 360, PS Vita, Wii, Wii U from PC/Mac via USB for infinite playback.
Read More:

 on the top of the menu.