


Dropbox is an online file storage service that allows users to upload, share, and access files and folders via mobile and desktop applications as well as a browser-based interface. The service offers free and paid services consisting of varying data and sharing restrictions and provides software applications for Windows, Mac OS X, Linux, Android, Windows Phone 8, BlackBerry, iPhone, and iPad. If you run iTunes on multiple devices, chances are you’ve had trouble keeping your libraries in sync. Maybe you’ve even tried Dropbox but ran into syncing conflicts. This article will walk you through the process of adding iTunes files to Dropbox for Sharing at anywhere.

Hot Topics About iTunes >> iTunes to Android | iTunes M4V with Home Theater Projector | iTunes to Roku 3 | iTunes Movie to HDTV | DVDs to iTunes 12/11…
As video purchased from iTunes store are usually protected by Apple’s FairPlay DRM copyright protection and can only play on Apple products. Besides, iTunes purchased movies and TV shows are usually in M4V format, which is not supported by Dropbox. To play the protected iTunes M4V video files on devices via Dropbox, you need to remove iTunes movie DRM protection and convert iTunes M4V to Dropbox supported video formats like MP4.
Note: The Dropbox’s Best major benefit comes in when you don’t have access to any of your devices. Since everything is synced to Dropbox, if you want to play a song for a friend, you can simply log into Dropbox on their machine and you’ll have quick access to everything you keep in iTunes.
Remove DRM-protection from iTunes Movies for Playing via Dropbox
To play the purchased or rented iTunes movies/TV shows on tablet, smartphone, even Smart TV and 4K UHD TV, currently the only way to make the iTunes DRM movies readable by Dropbox is to remove DRM protection from iTunes movies before transferring them to the Dropbox because of your Dropbox will not recognize the DRM-protected iTunes movies properly. The popular DRM removal – Pavtube ChewTune as the Top DRM Removal Tool is the fastest and best iTunes DRM Removal you can find.
With it you can remove DRM protection and convert iTunes movies and Episodes losslessly to Dropbox supported normal MP4 format in 6X fast speed. For Mac users, you can turn to Pavtube ChewTune for Mac.
Now you can download the right version of Pavtube iTunes DRM Video Converter and begin to transfer iTunes videos to Dropbox by following the instructions below.


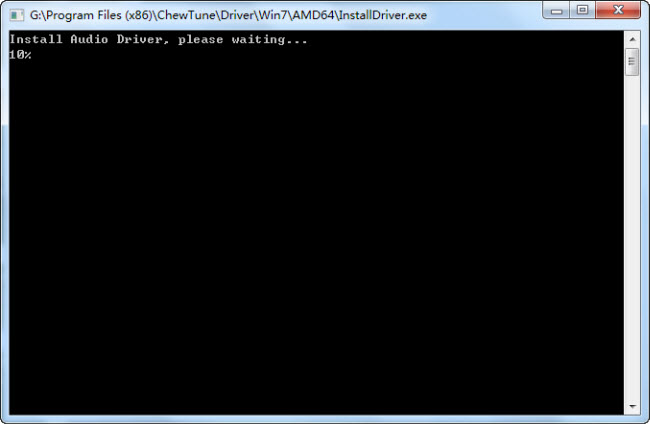
Step 1. Download and install Pavtube ChewTune. There would be a command window pop up during the installation, please do not shut down it and let it running until the installation completed.
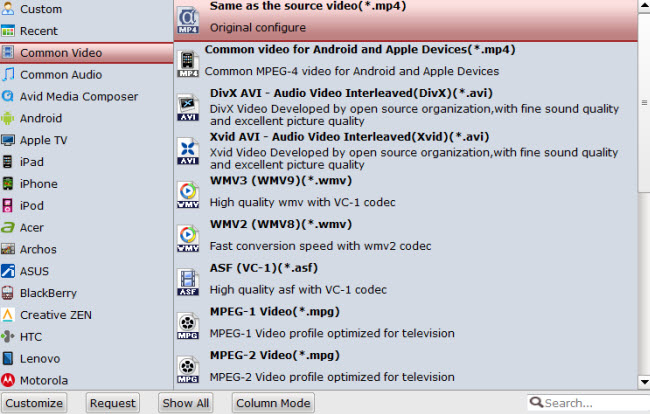
Step 2. Add iTunes Movies and choose target format. Drag and drop your videos to it directly, or you can click icon to import them as below.

Let’s click the drop-down-list besides “Format” and choose “Same as the source video”.
Step 3. Customize target video specs. (Optional)
Click “Settings” as above to enter Profile Settings window, you can find settings for video size, codec, bitrate and frame rate. Change them at your own needs.
Step 4. Start (batch) conversion.
Now click the big red “Convert” icon to start converting DRM videos; this converter will activate your media player automatically and start to play this video (let’s keep it running). The player windows cannot be removed or closed. After conversion, click “Open output folder” to quick locate the converted video. Now, you can move the converted videos files to your Dropbox.
Learn Other way >>Transfer iTunes Files Into Dropbox Easily
Your iTunes library isn’t just a collection of audio files. There’s also a variety of database and configuration files that iTunes uses to manage your entire library. Manually moving your iTunes files without breaking something can be a challenging game of trial and error. However, you have the easier option to use iTunes’ own internal tool for moving your library into your Dropbox.
Step 1: Launch iTunes and open “Preferences” from the “iTunes” menu on OS X, or from the “Edit” menu on Windows.
Step 2: Click the “Advanced” tab and click the “Change” button next to “iTunes Media folder location.”
Step 3: Navigate to your Dropbox folder in the window that pops up, then click “New Folder” and title the folder whatever you want to call your new iTunes library.
Step 4: Click the “Open” button.
Step 5: Select the check boxes next to “Keep iTunes Media Folder Organized” and “Copy files to iTunes Media folder when adding to library if they aren’t already checked, then click the “Ok” button.
Step 6: Select “Organize Library” from the “Library” entry in the “File” menu, click the box next to “Consolidate Files,” then click the “Ok” button. You can refer to source guide.
That’s all you have learned how to playing iTunes DRMed Movies on Any devices through Dropbox for more convenient.
Read More:


